Running Airflow on an EC2 Instance
Apache Airflow is an open-source platform that helps you programmatically author, schedule, and monitor workflows. Running Airflow on an EC2 instance provides you with a scalable and flexible environment to manage your data pipelines. In this blog, we’ll walk you through setting up Airflow on an EC2 instance step by step. We’ll cover everything from setting up an EC2 instance to installing Airflow, configuring the environment and running your first workflow.

Apoorva
Dec 1, 2024 |
10 mins

Step 1 : Launch and Connect EC2 Instance
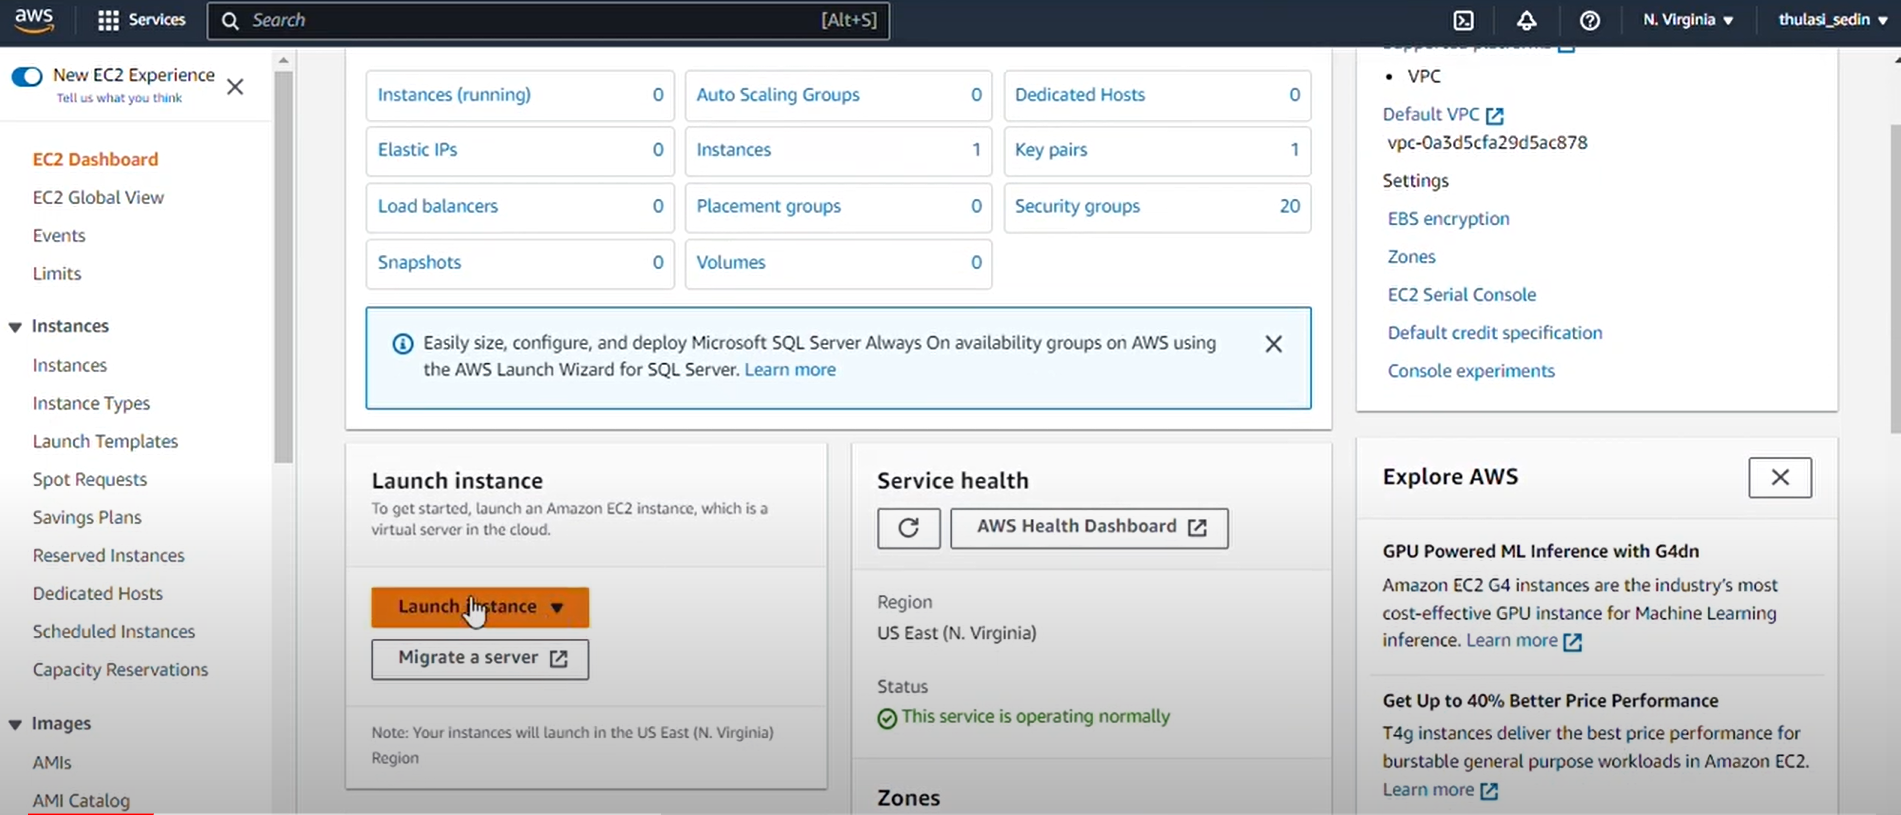
1 - Earlier we have spoken about installing and configuring GPU on AWS EC2 Instance. Here we start creating the instance needed for Airflow. Search for EC2 on your AWS dashboard, and open it. Then, click on “Launch Instance”.
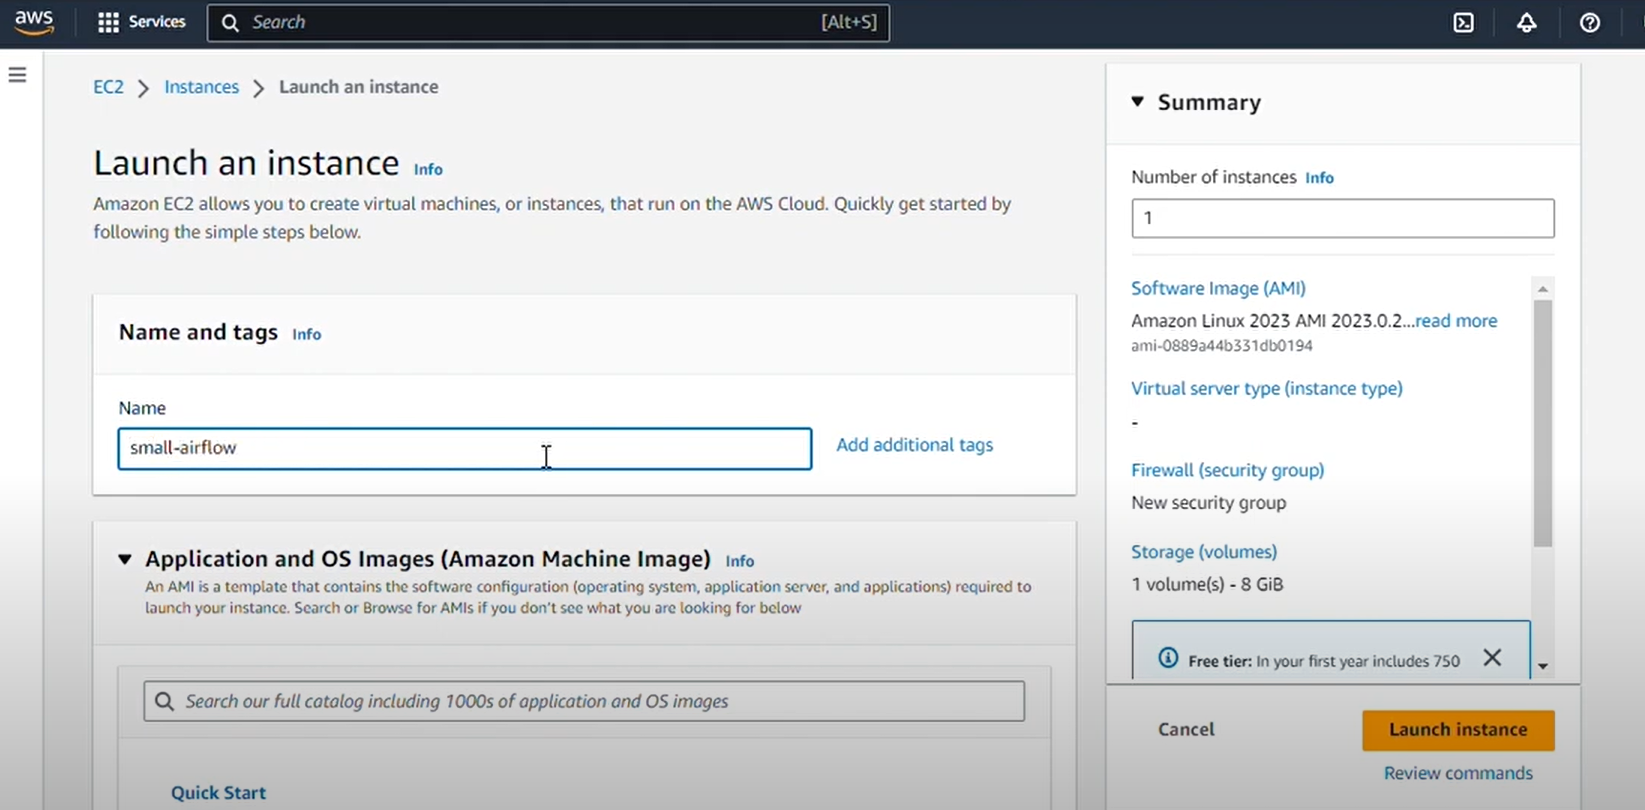
2 - Now, for creating a new instance, we need to name the instance something, we’re naming it small-airflow for now.
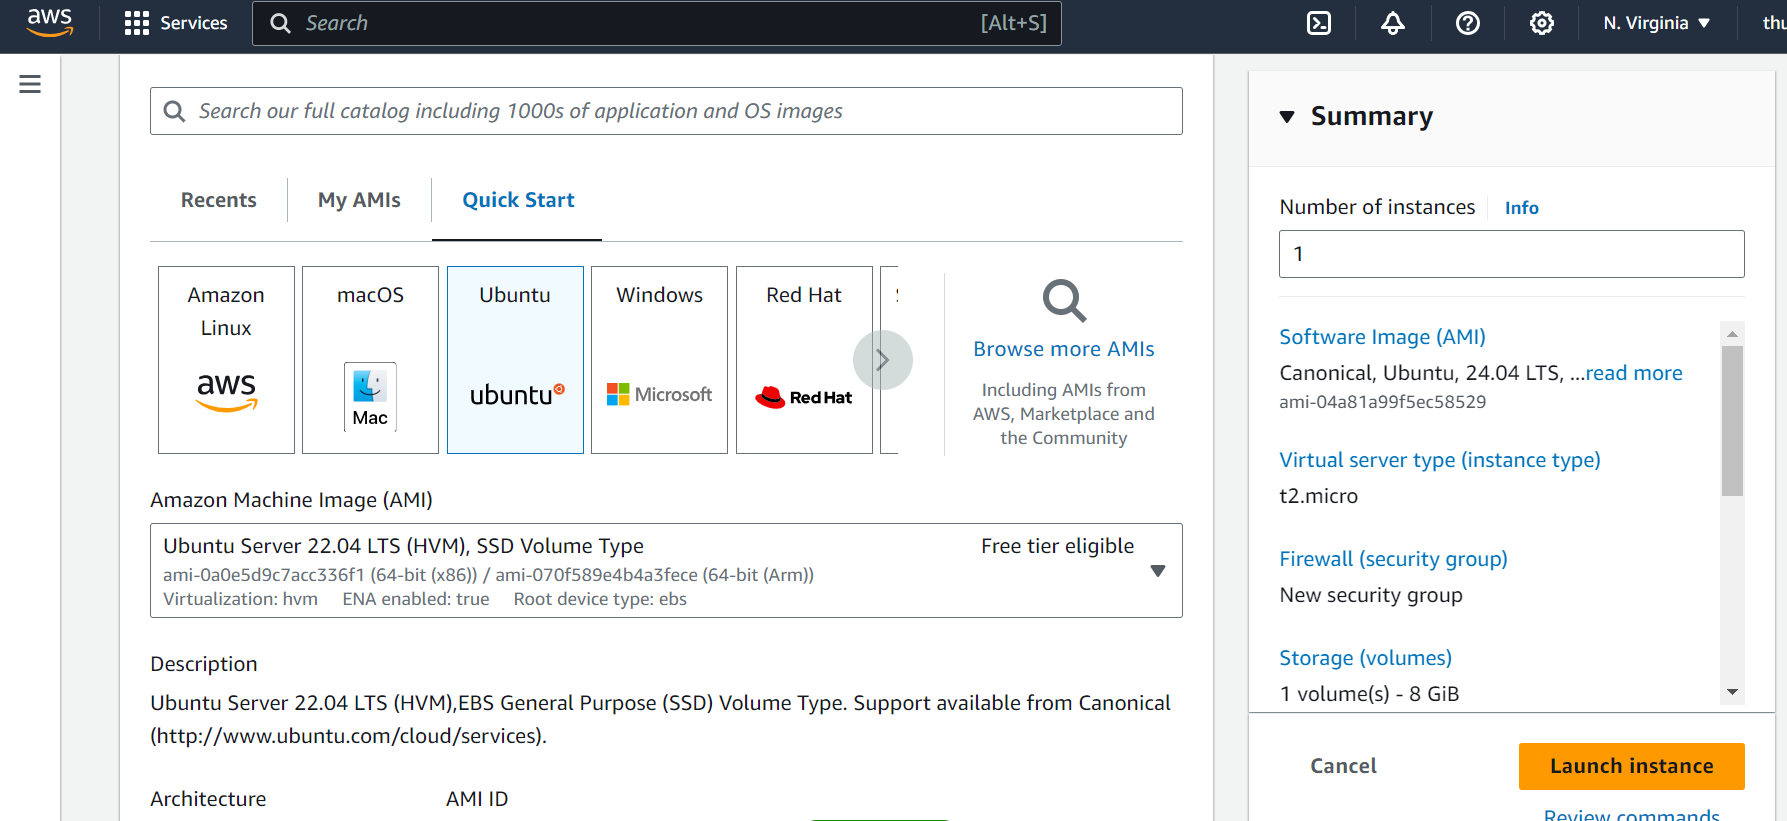
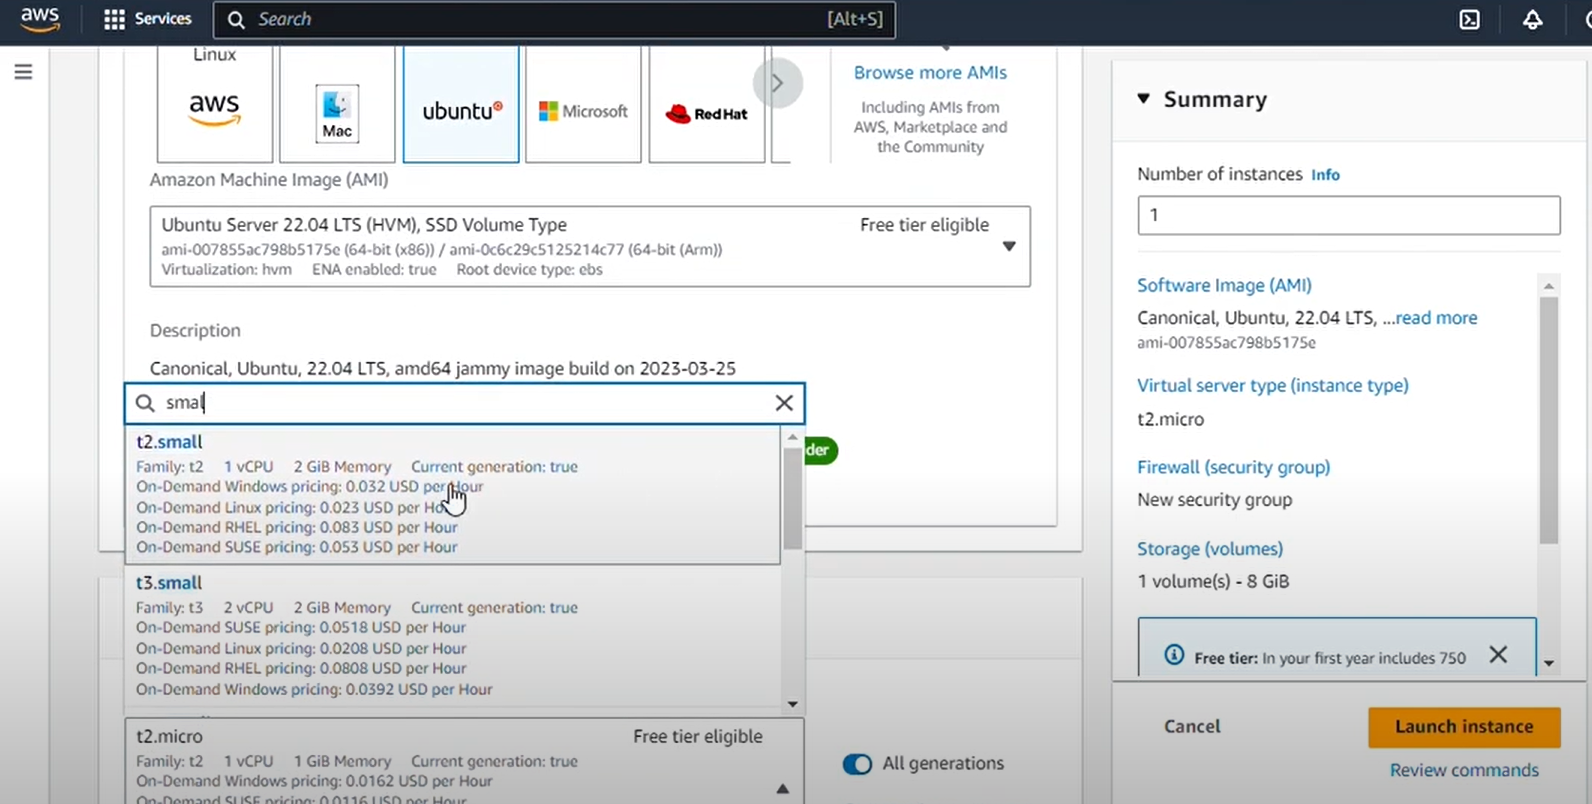
3 - Airflow needs a Database to run and we will use PostGreSQL. PostGreSQL needs atleast 2 GB of RAM, so we cannot use “t2.micro” as it only has 1GB RAM. We’ll choose the next possible option which is “t2.small”. It is not free but pretty cheap. For the operating system, we’ll choose “Ubuntu Server 22.04”.
4 - You will have to create a key pair if you haven’t already. Here, we have created a key pair as you can see below:
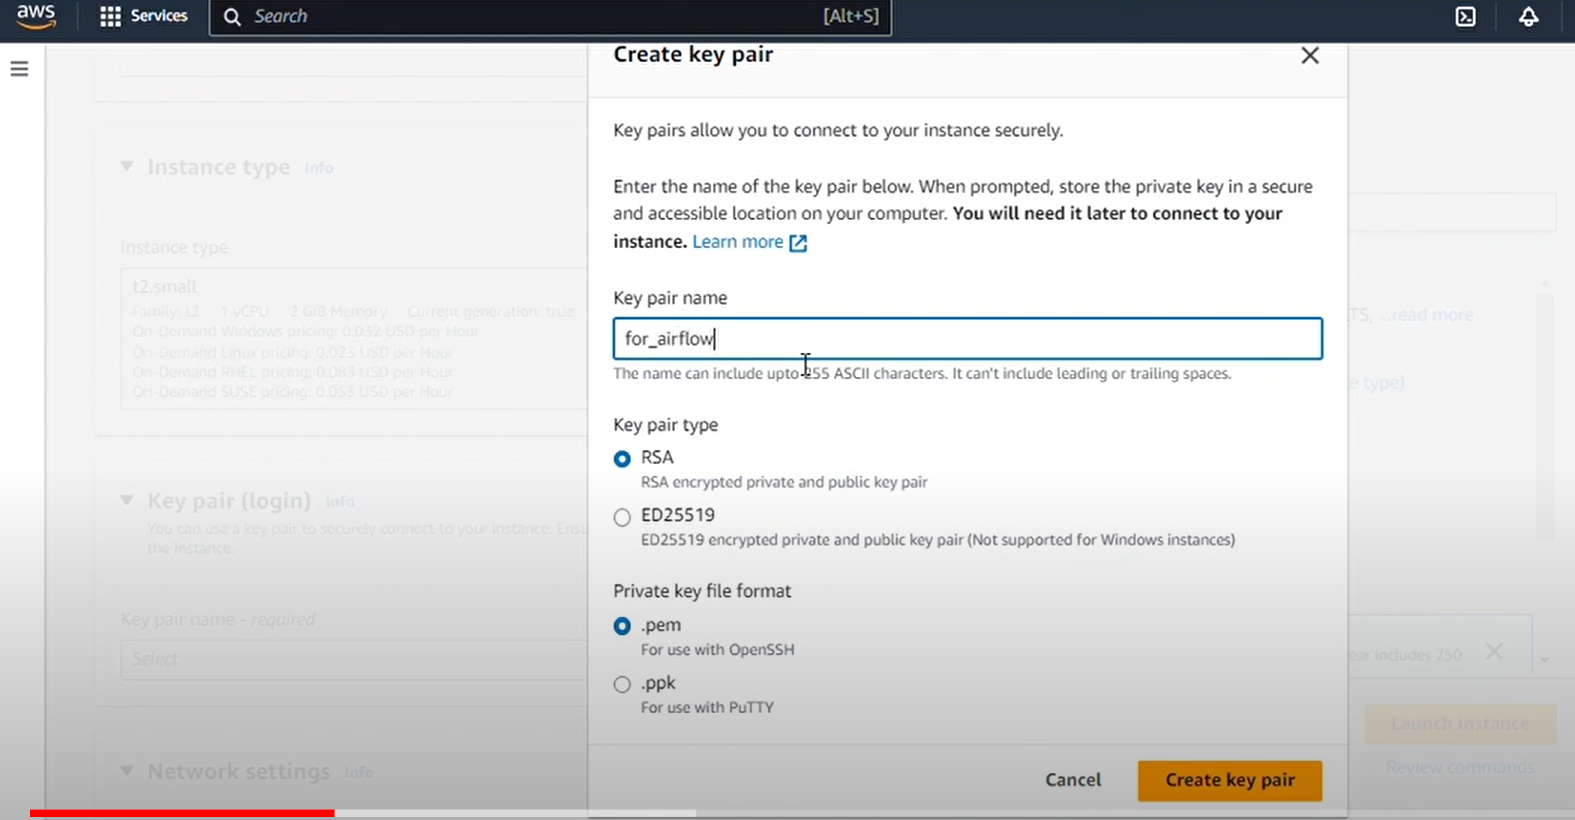
5 - And that’s all! Your EC2 Instance is ready to connect once it starts. You can connect it by going to the EC2 Instances page, choosing your instance, and then clicking on “Connect”
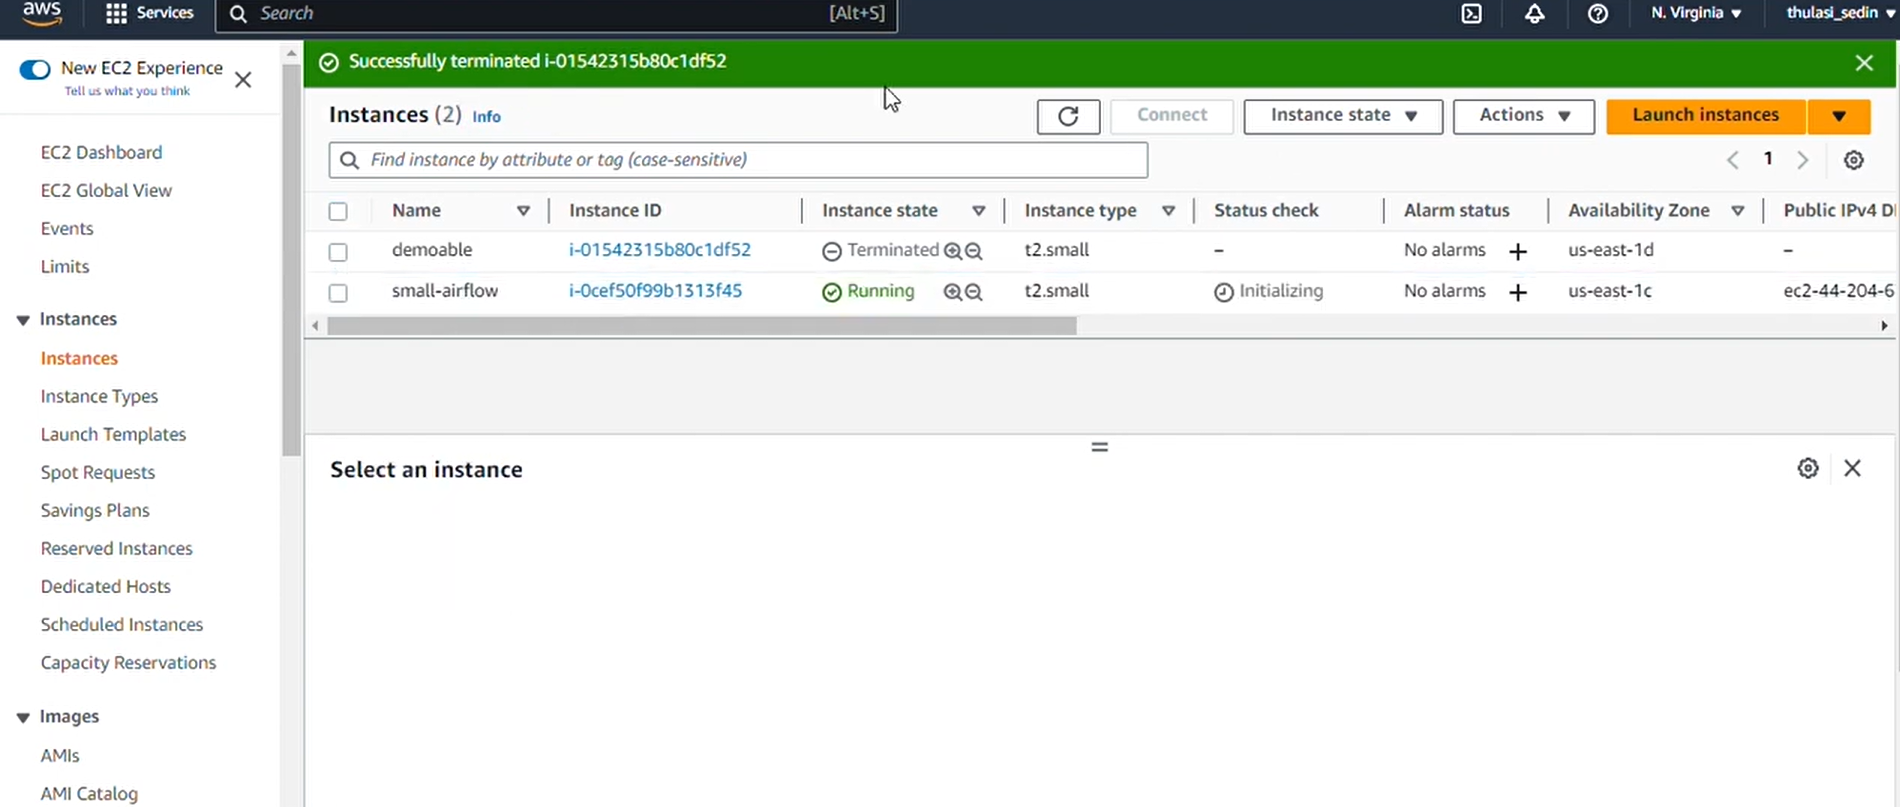
Step 2 : Configure the Instance to run Airflow
1 - We will update the packages already installed on EC2 by using the command : “sudo apt update”.

2 - Next, we need to install “pip”, which is used to install any library in Python including Airflow. We will use the command : “sudo apt install python3-pip”.

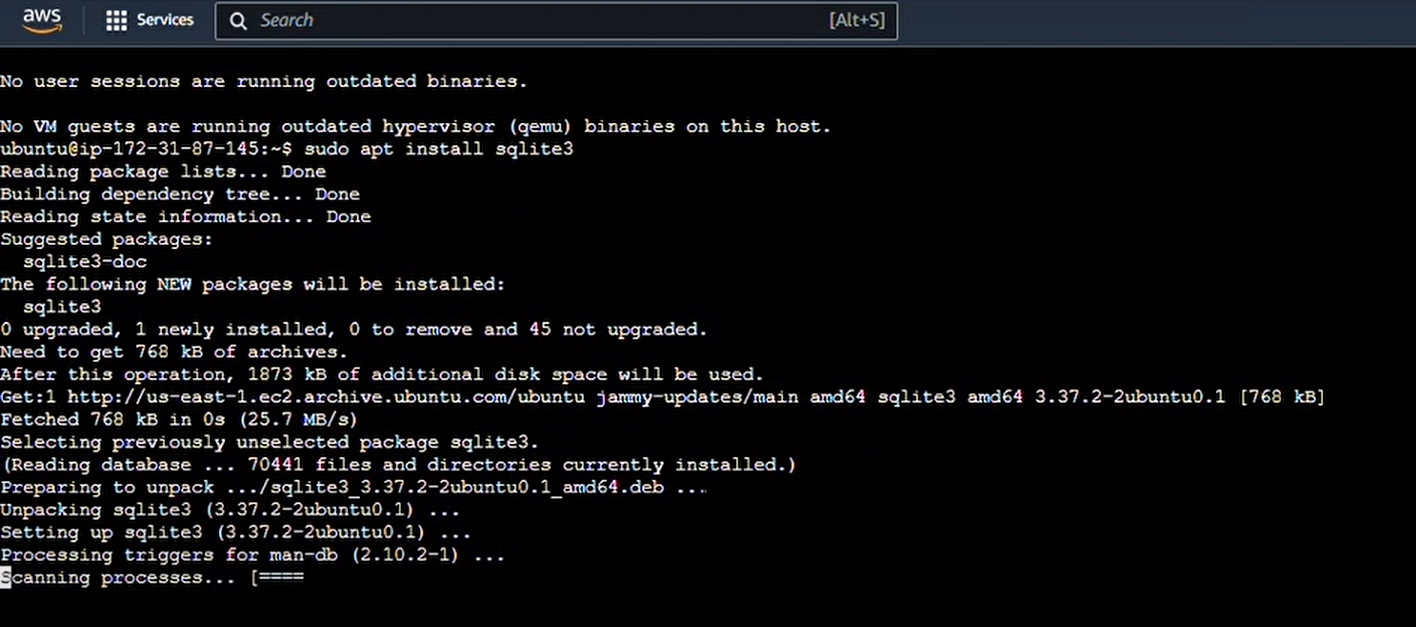
3 - To initialize Airflow for the first time, we need SQLite, so we use this command to install SQLite : “sudo apt install sqlite3”.
Step 3 : Make a Python Virtual Environment
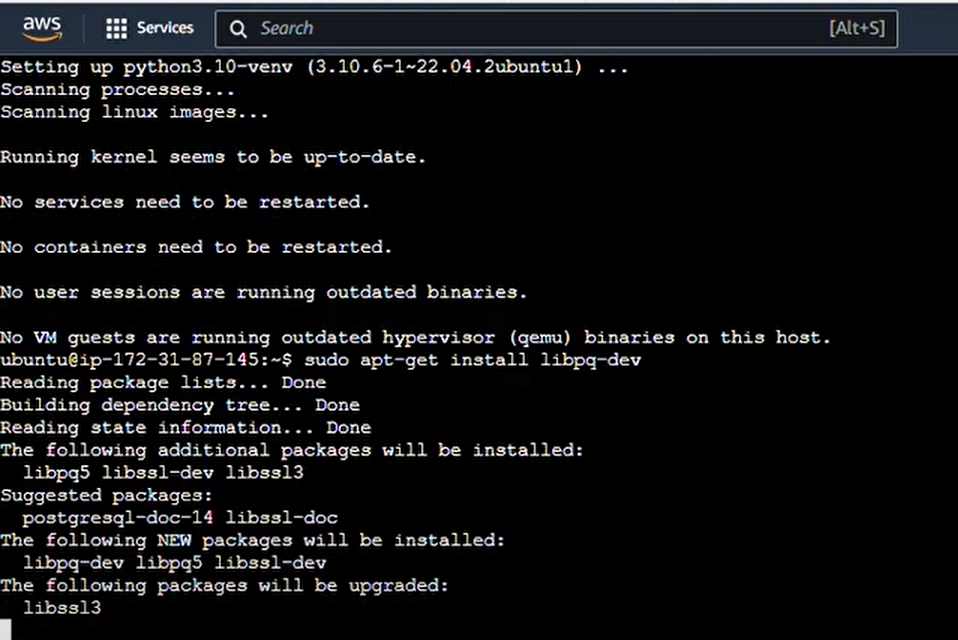
1 - Now we will make a Python virtual environment so as to not have conflicts with packages installed on your system. We will use the command : “sudo apt-get install python3.10-venv”.
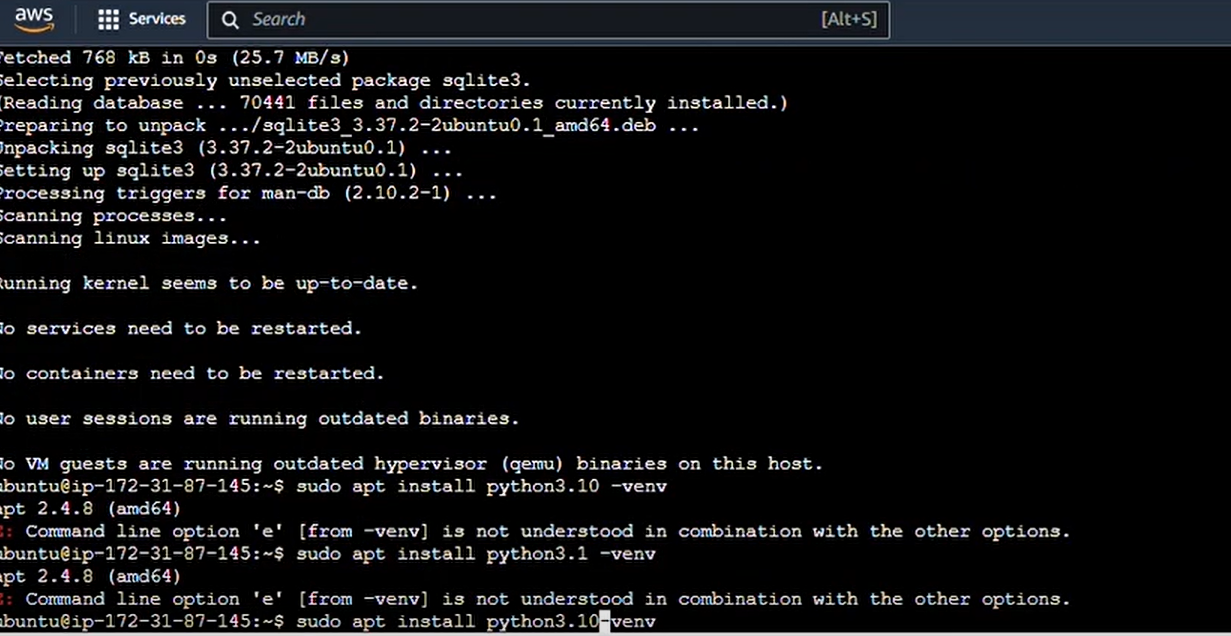
2- And while we are in the virtual environment, we will install this library “libpq dev” as sometimes it is required, sometimes it's not. We’ll use the
command “sudo apt-get install libpq-dev”.
Step 4 : Install Apache Airflow
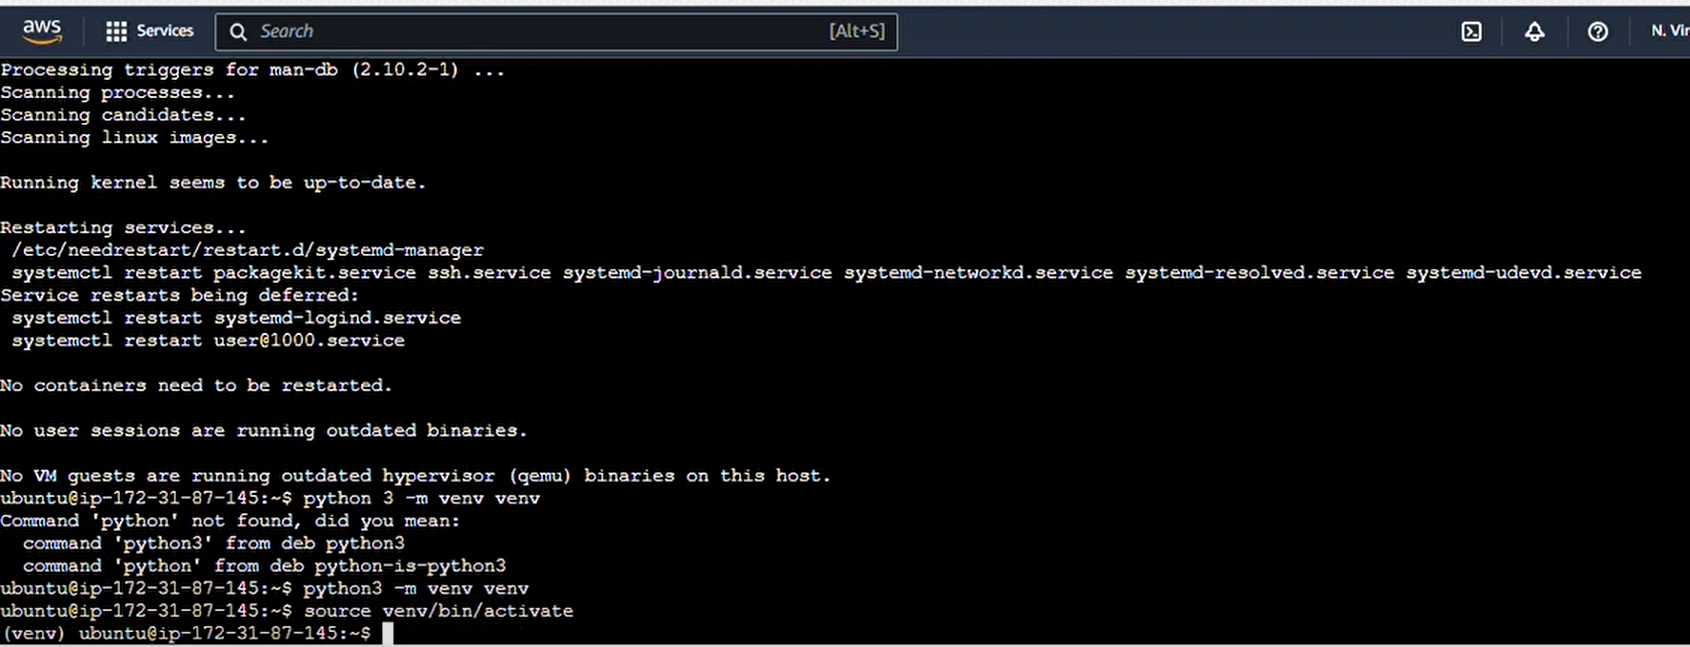
1 - First we’ll activate our virtual environment using the commands : “python3 -m venv venv” “source venv/bin/activate”.
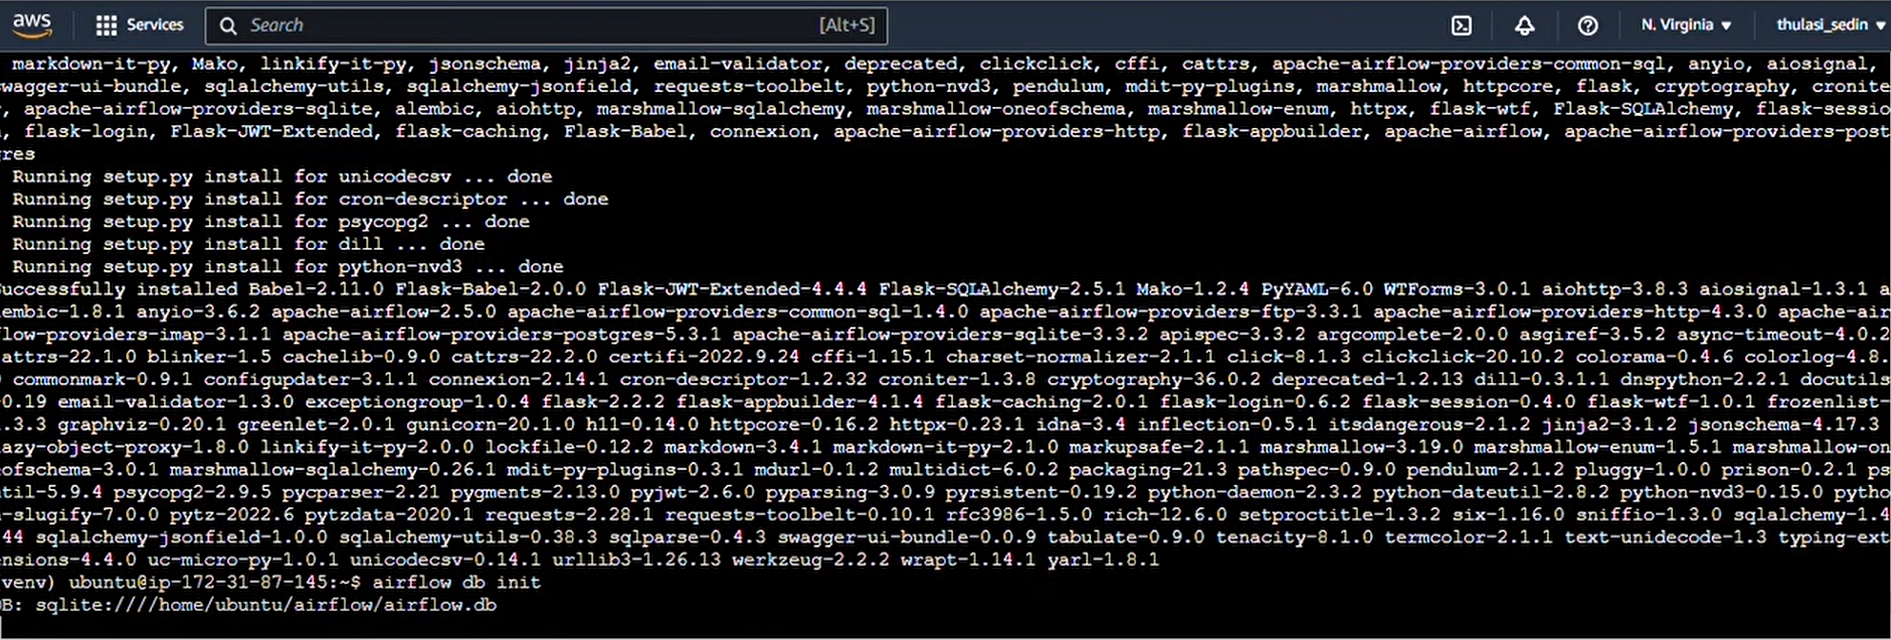
2 - By using the command given below, we can download specific versions of Airflow and its required dependencies. Some dependencies might not work with the latest or certain version of others, so we get all the required ones at once.

3 - Command : pip install "apache-airflow[postgres]==2.5.0" --constraint "https://raw.githubusercontent.com/apache/airflow/constraints-2.5.0/constraints-3.7.txt"
This is the command to initialize airflow : “airflow db init”.
Step 5 : Install PostGreSQL and connect to Airflow
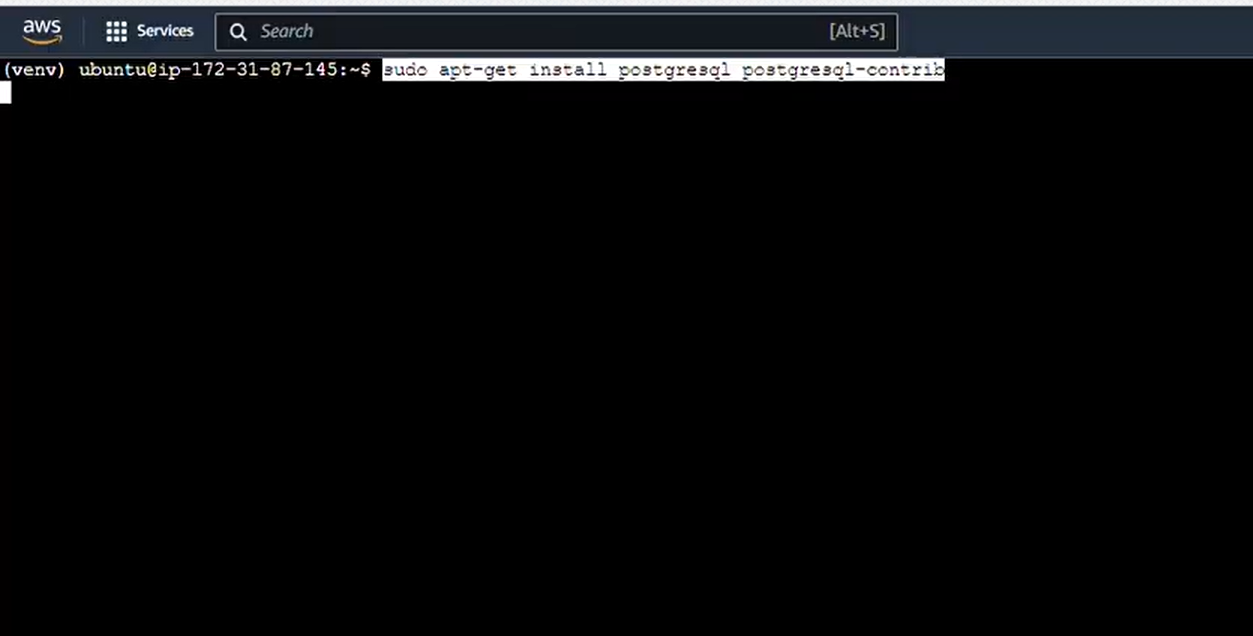
1 - By default, we use SQLite as a database and we must replace it with PostGreSQL.Postgres allows multiple tasks to run at the same time compared to a single task at a time by SQLite.
And this is the command to install Postgres: “sudo apt-get install postgresql postgresql-contrib”
“sudo -i -u postgres”
2 - Next, we will connect to the PostGreSQL database, with p-SQL and create a database Airflow as well as a user with the password and grant privileges to that user. Use the commands : “psql”
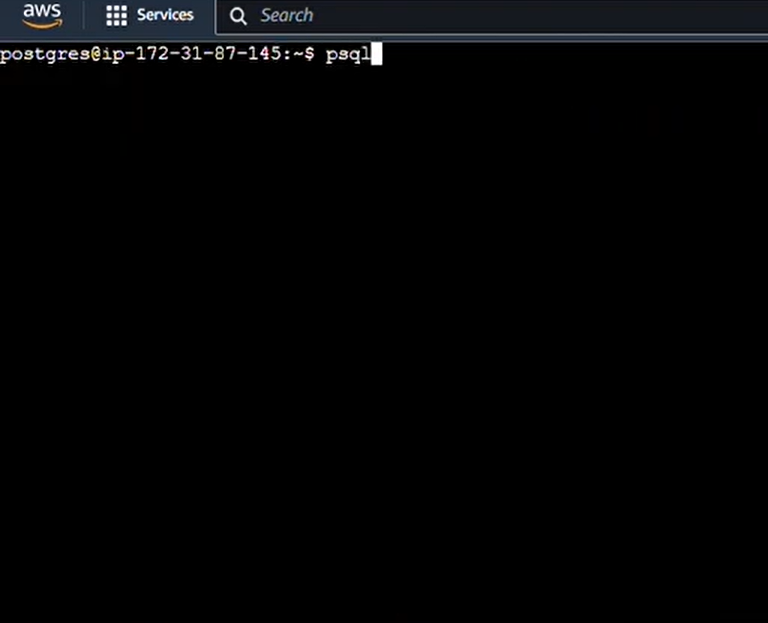
Airflow needs to store data in the database, and that’s why we’re connected to it.
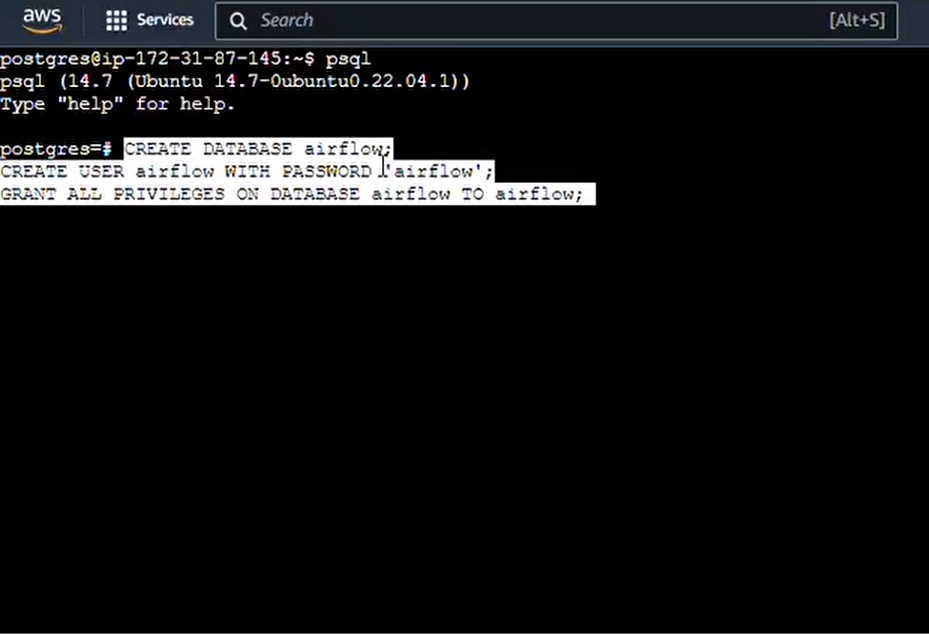
3 - After connecting we run three commands :
“CREATE DATABASE airflow; CREATE USER airflow WITH PASSWORD 'airflow'; GRANT ALL PRIVILEGES ON DATABASE airflow TO airflow;”
We create the database, and then create a user entry in it, and then we grant privileges to the user.
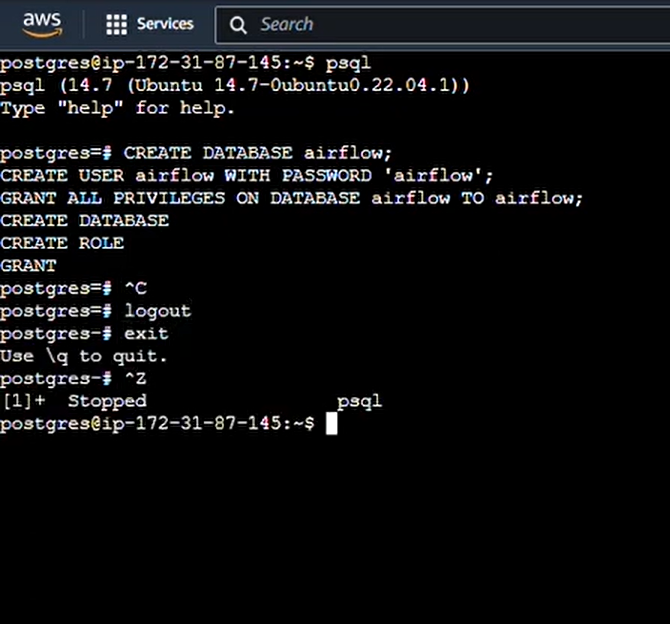
4 - Now, press Ctrl+Z and type “exit” to exit.
Step 6 : Configure and Run Airflow
1 - Next, we need to find the airflow configuration file, which will be in the Airflow folder. In the default.In the Airflow.cfg file, we will have a default connection string, which is connection to SQLite.We will replace that connection string with Postgres connection string using this command to connect with the user Airflow, the password Airflow, the localhost and the Airflow database using PostgreSQL as configured before in p-SQL.Use this command for the same : “cd airflow” “sed -i 's#sqlite:////home/ubuntu/airflow/airflow.db#postgresql+psycopg2://airflow:airflow@localhost/airflow#g' airflow.cfg”.


2 - You may also want to change your executor to local executor from sequential executor to execute many tasks. You must follow this command for the same : “sed -i 's#SequentialExecutor#LocalExecutor#g' airflow.cfg”.


3 - After this, we may or may not want example tags to show up, so if you want to, you can run this command : “sed -i 's/load_examples = True/load_examples = False/g' airflow.cfg”.

4 - We need to initialize Airflow once more to reload the config file using the command : “airflow db init”.

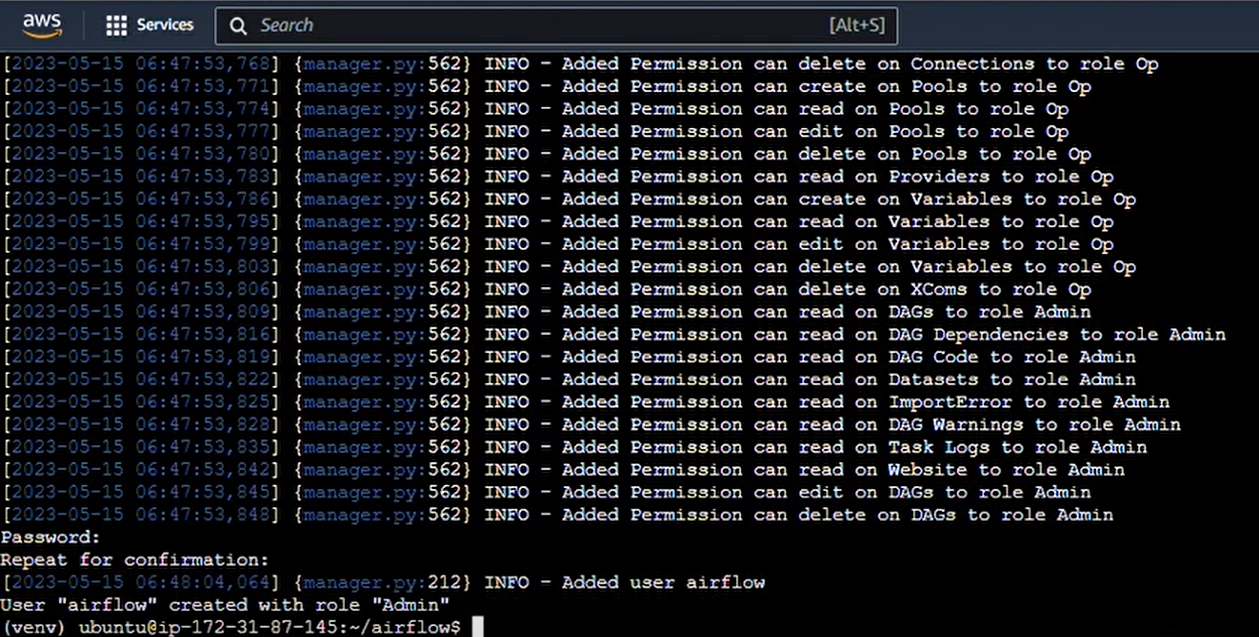
5 - Finally, we shall create a user by executing this command with username Airflow, first and last name Airflow with the role admin.The email address shall be airflow@gmail.com.
Command : “airflow users create -u airflow -f airflow -l airflow -r Admin -e airflow@gmail.com”
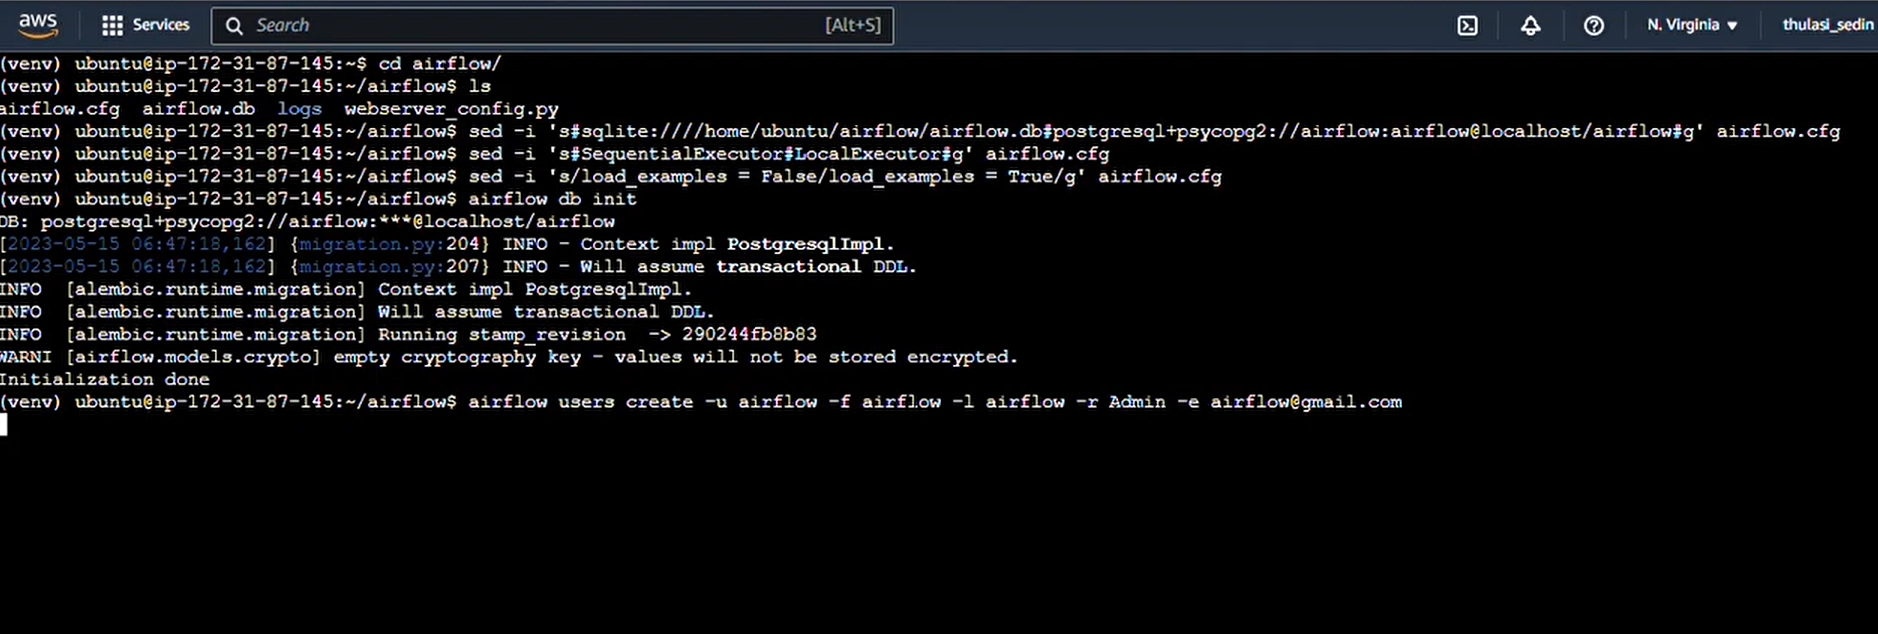
6 - Then, a prompt will come to give the password, which we will give as “airflow”, and we are now done initializing Airflow.
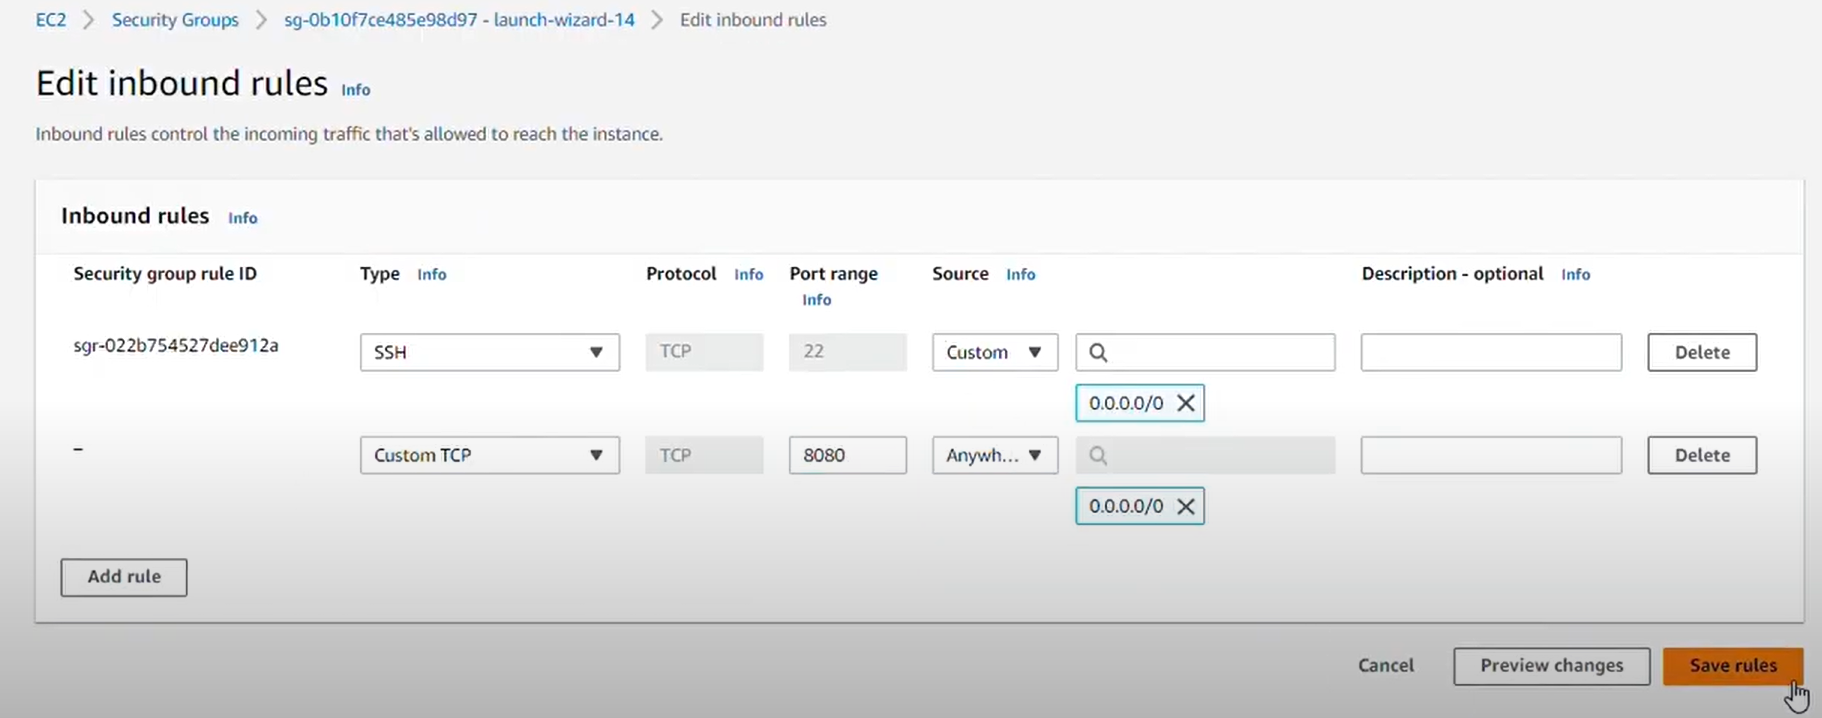
7 - But we still need to open the port on which AirFlow works.Go back to the AWS instances, select your instances,navigate to the security tab, click on security group, go to inbound rules, and then edit inbound rules.
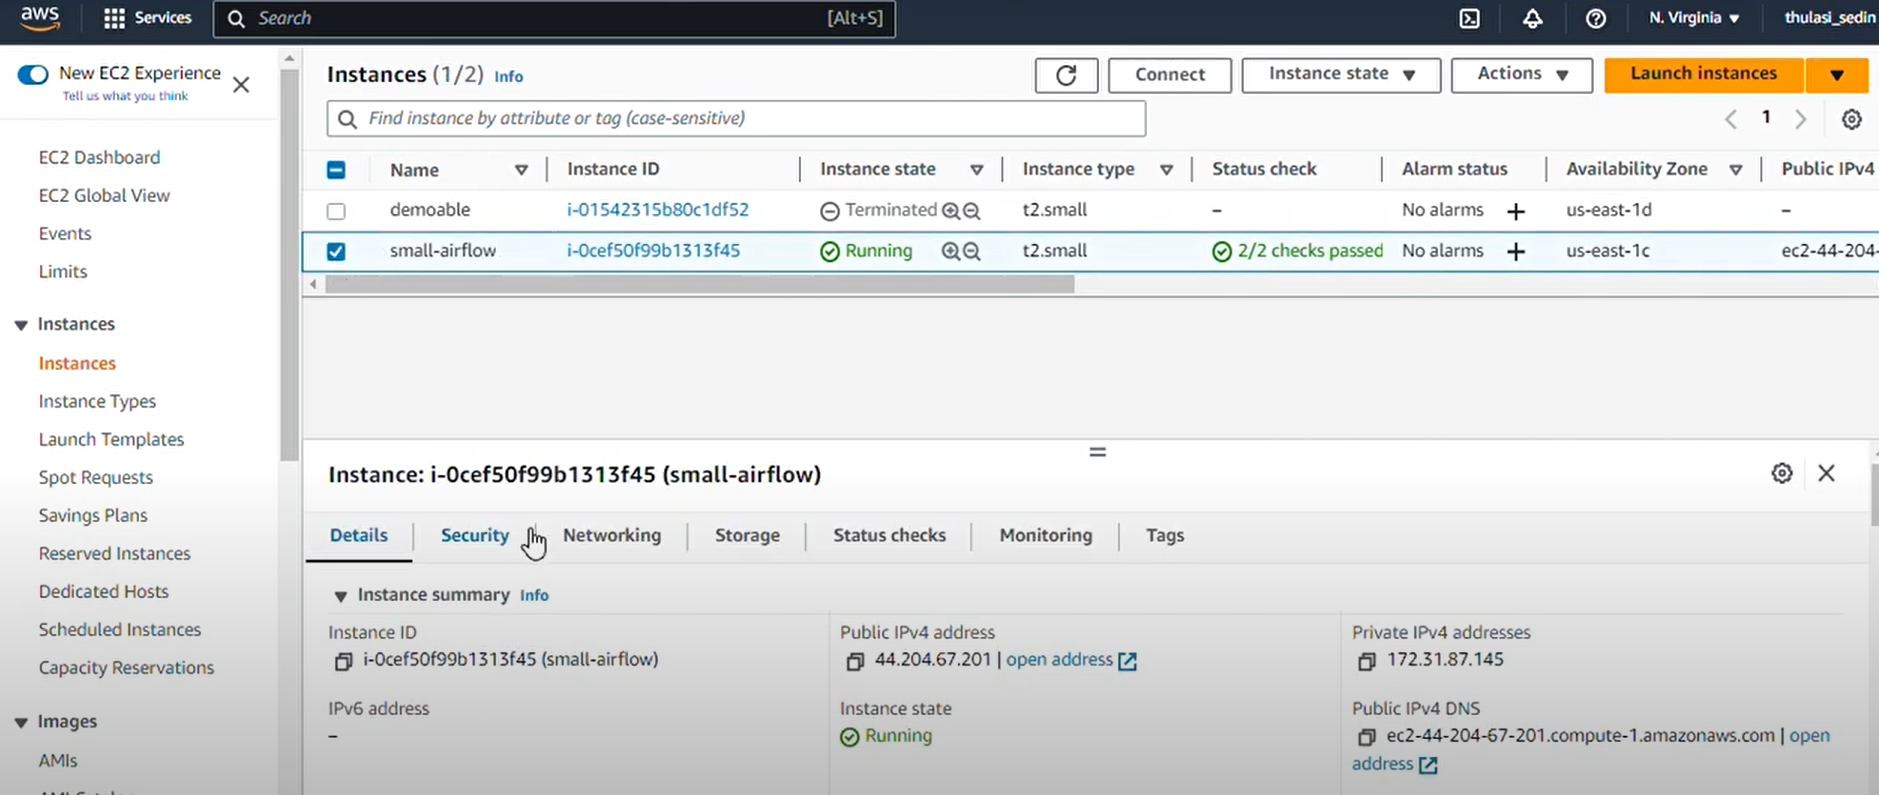
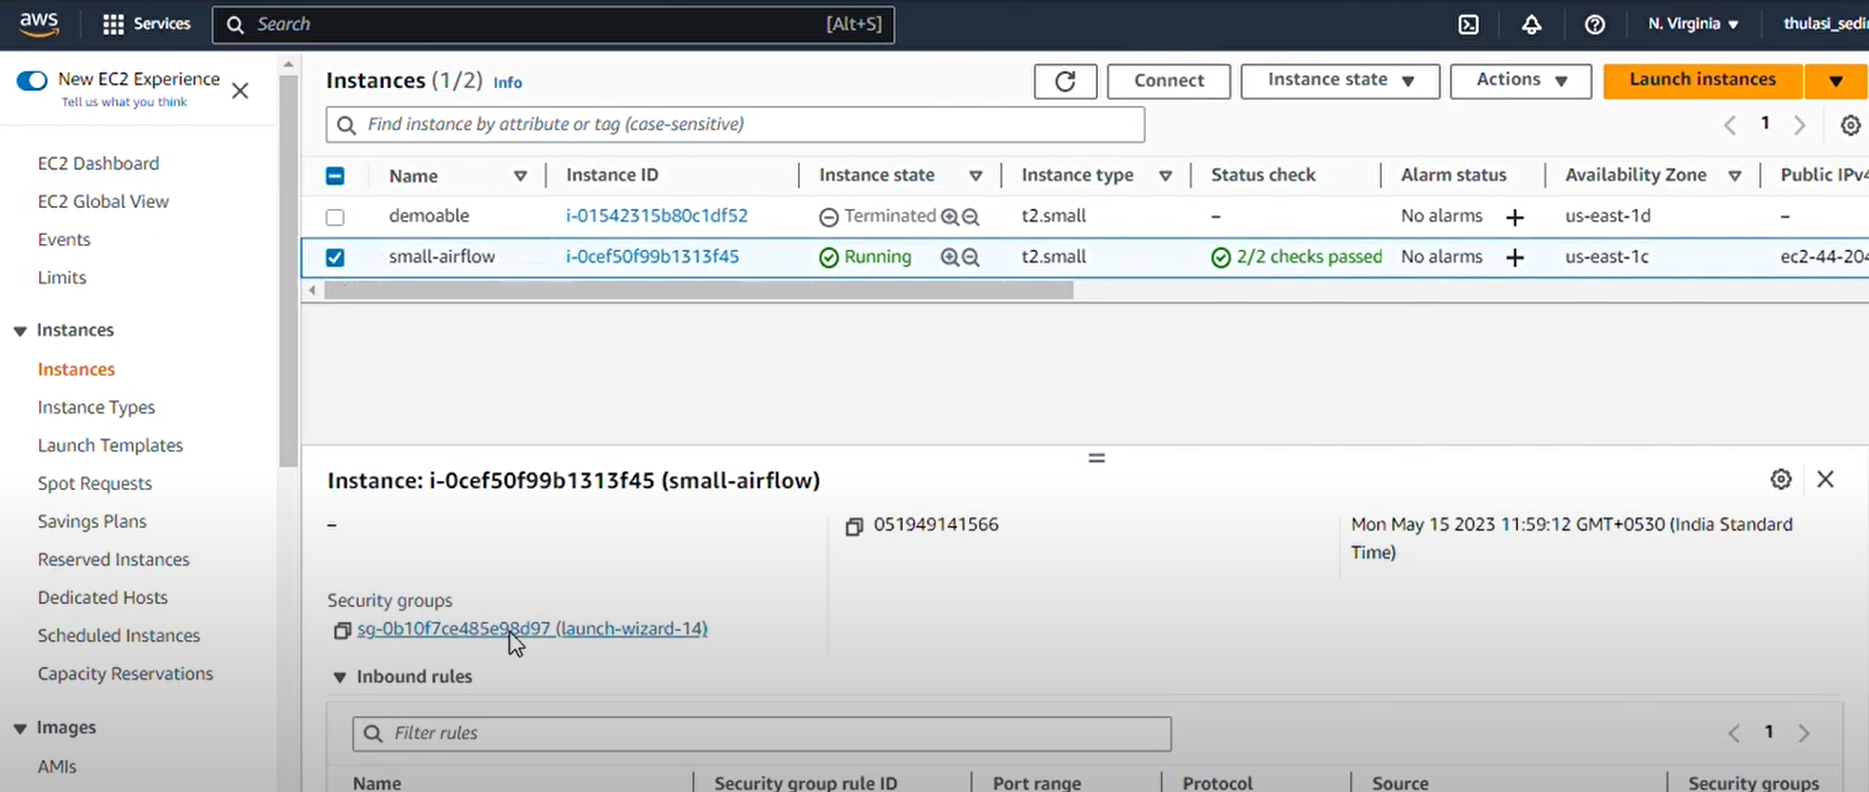
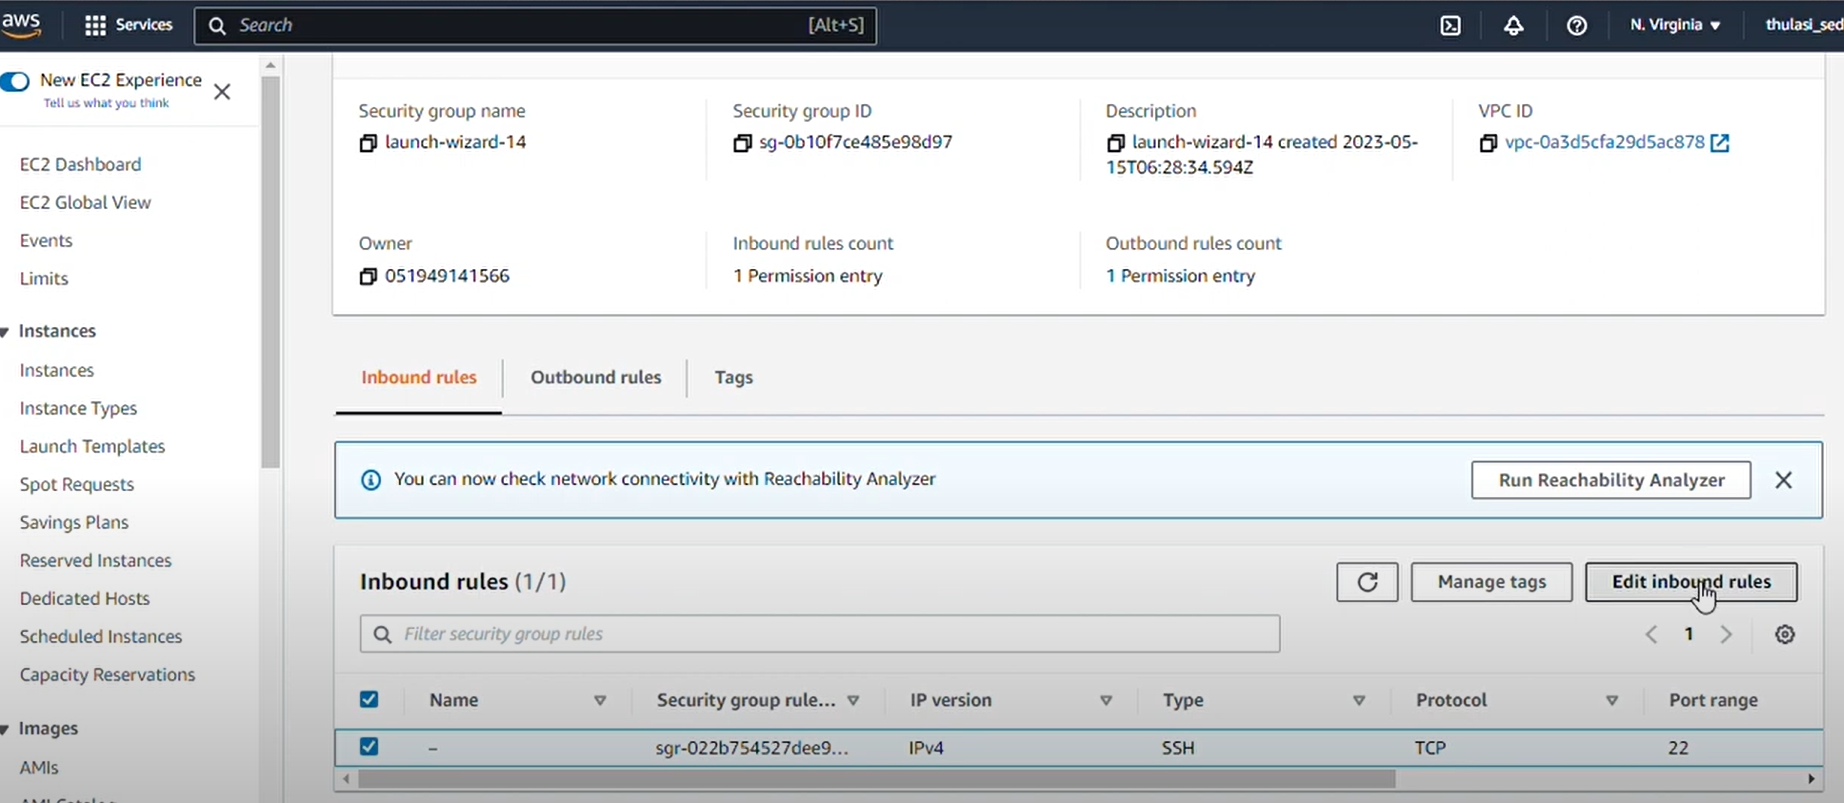
Add 8080 as port number and select source as anywhere IPv4, and then click “Save Rules”
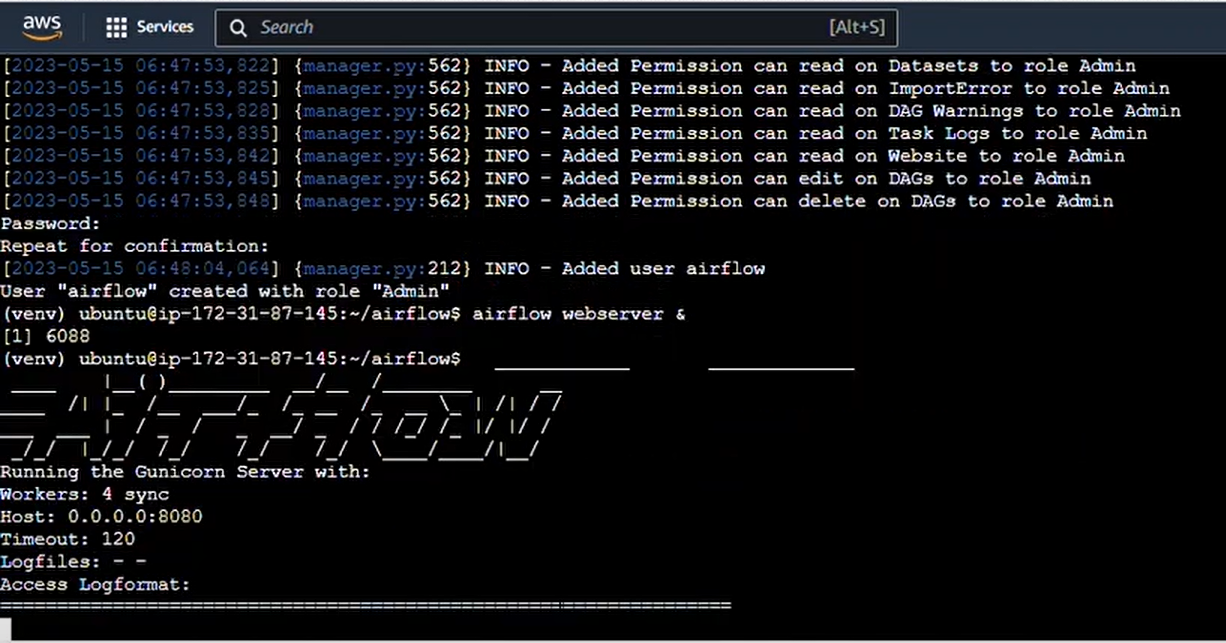
8 - Go back to the terminal of the same instance, type “ Airflow web server &”.The symbol amp percent is used to run it in the background.
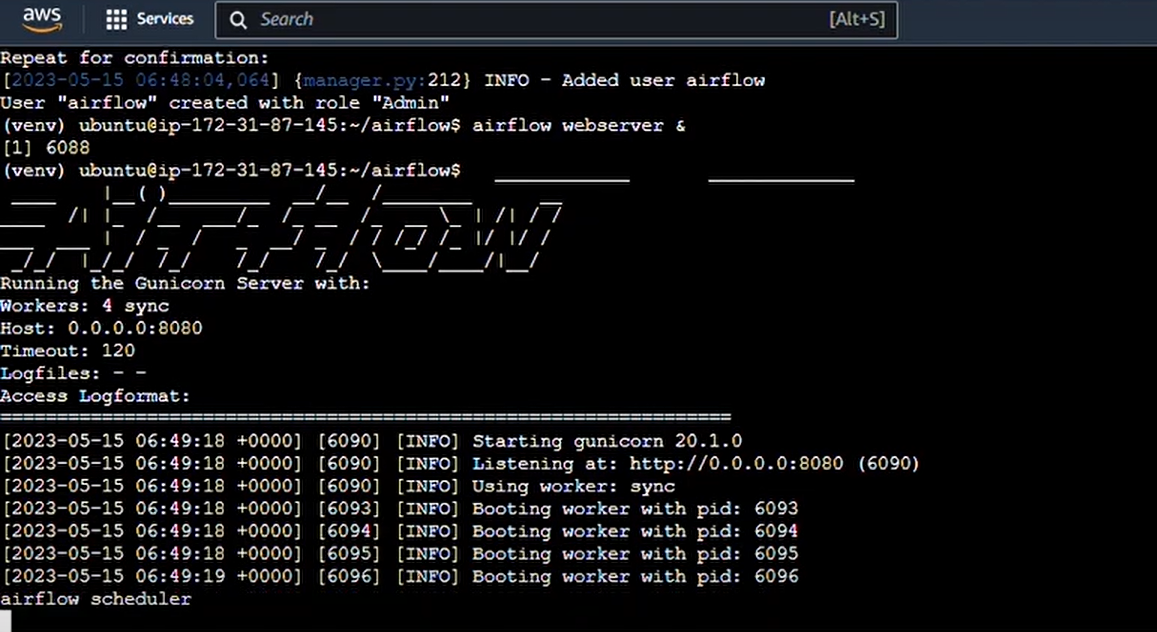
9 - Then type “airflow scheduler” to start the scheduler.
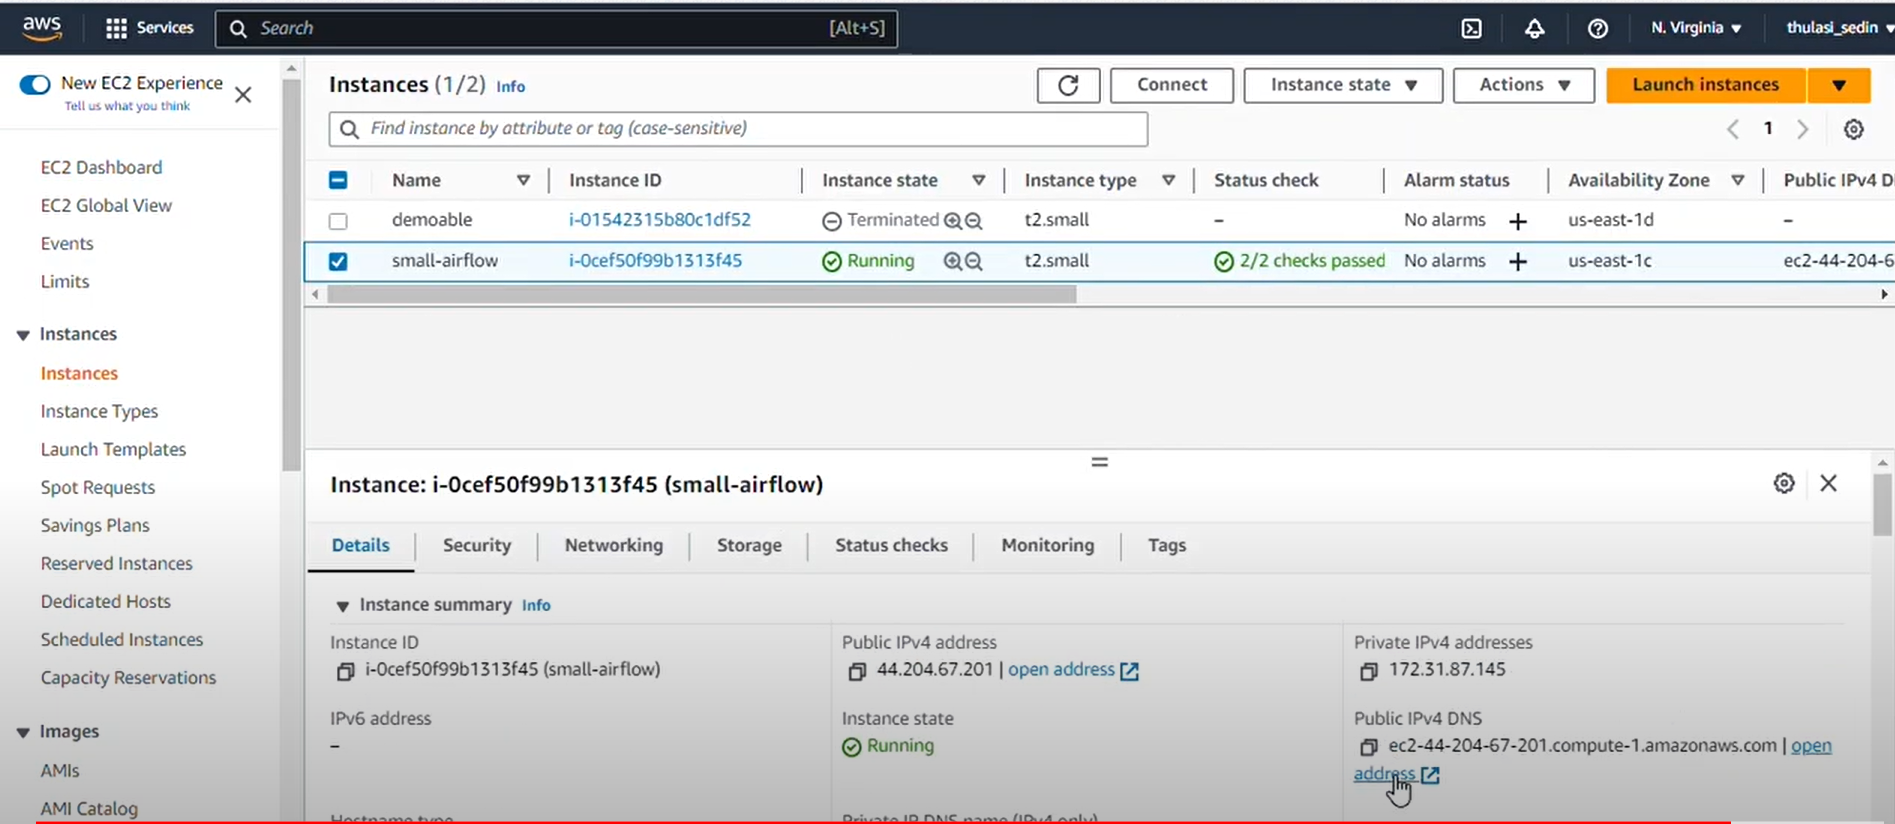
10 - Now, go back to the instances page and get public IPV4 address and then open it in a new tab. Add “:8080” after it to open the Airflow server.
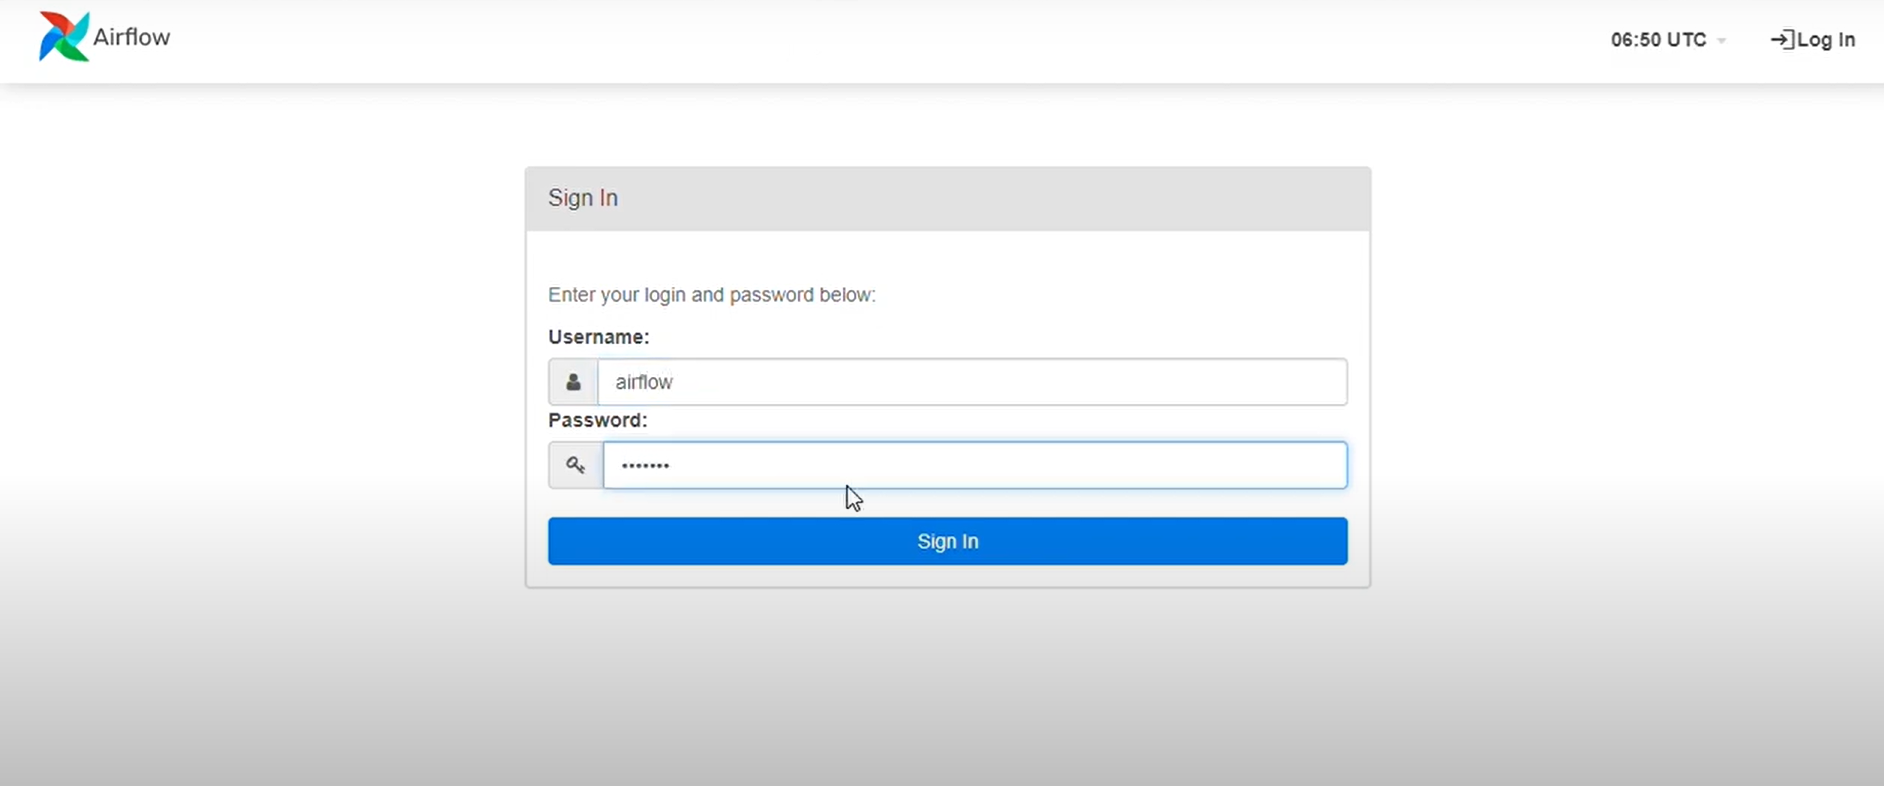
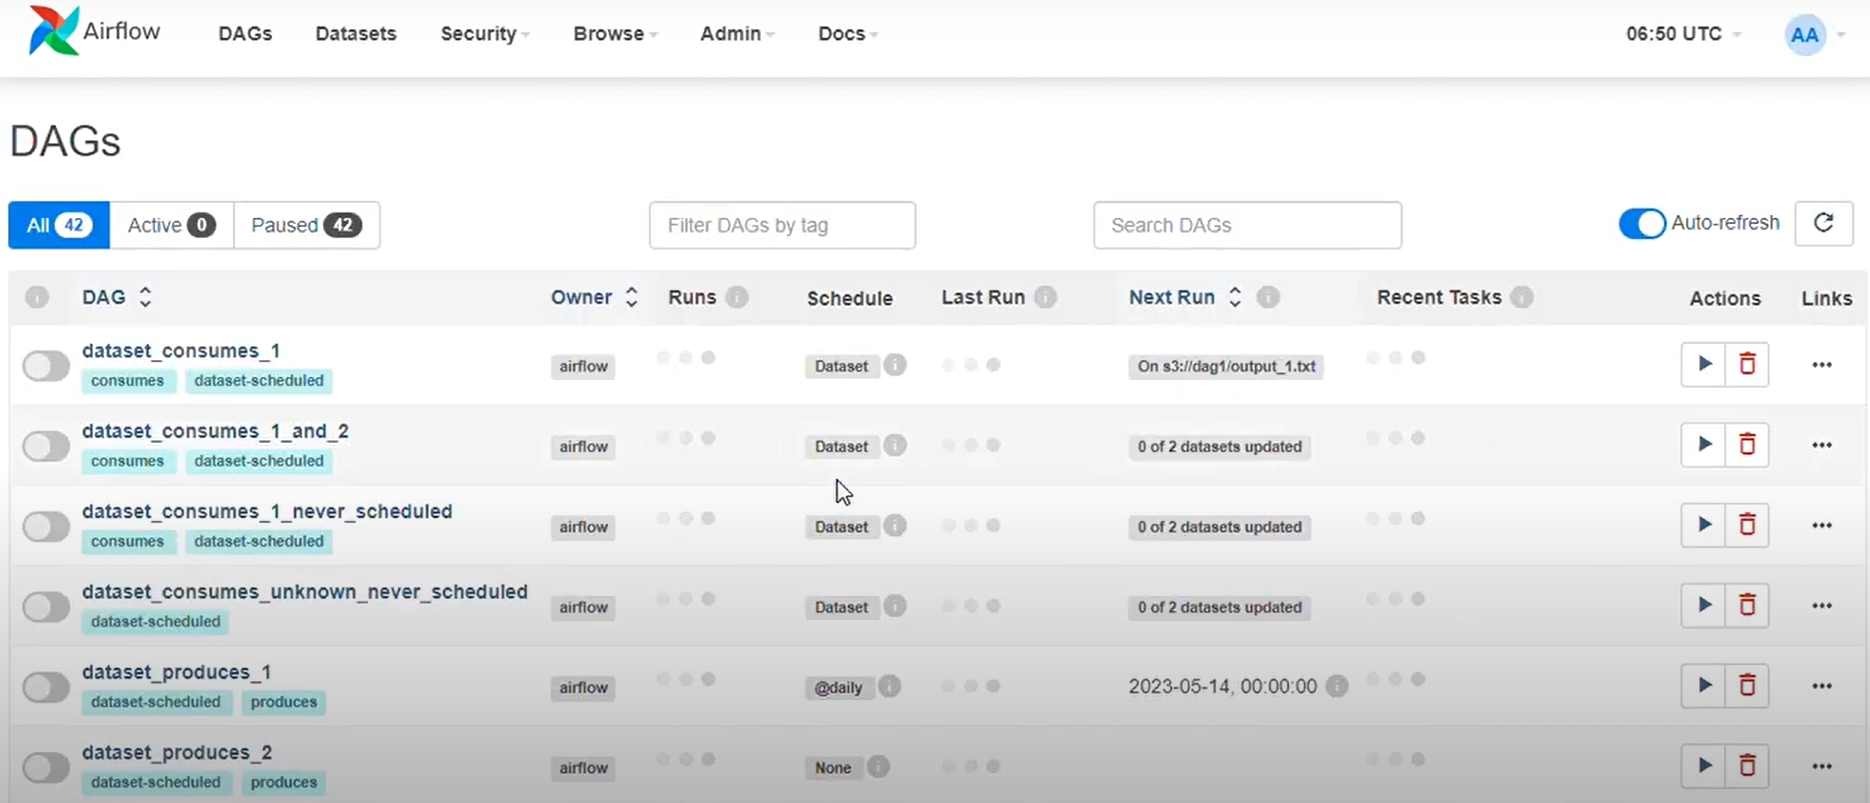
11 - Type Airflow as username and password as Airflow and voila, you have your Airflow running on your EC2 instance. Voila! You have your airflow running on your EC2 instance.
Conclusion
Congratulations! You’ve successfully set up Apache Airflow on an EC2 instance. You can now start building and managing your workflows. This setup provides a scalable solution for running your data pipelines, leveraging the power of AWS EC2. If you have any questions or run into any issues, feel free to get in touch with us. Need Microsoft Fabric or data strategy consulting? Click on ‘contact us’ to send your requirements and concerns to us.
Happy Airflowing!
Build reliable, automated data workflows—learn how our data science as a service can help.

by Apoorva
Apoorva, ex data scientist at datakulture, worked closely with the data science team—supporting research, data exploration, training, and model-building activities. With a strong blend of analytical, creative, and communication skills, she loved spreading knowledge through engaging audiences in events, writing blogs and technical papers, and participation in platforms like Medium.


